7.1.2. Administration
Note
Administration interface and TANGO support might not be present in your version of the device. You can update the device firmware using our instruction.
7.1.2.1. Automatic device detection
As a convenience we provide a small dedicated utility called “Revealer” in order to help you instantly identify all the Standa 8SMC4-USB-Eth1 adapters connected to your local network. You can download it from our software page.
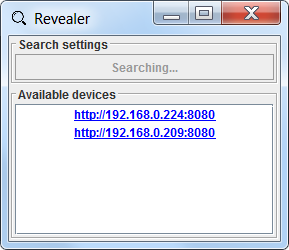
“Revealer” utility interface
The Graphical User Interface of the “Revealer” is a simple one. In order to start search click Search button on Search settings panel - the scan takes approximately 3 seconds. After that all Standa 8SMC4-USB-Eth1 devices found in your local network will be listed on Available devices panel as clickable links. When clicked, the link opens your defaul system browser and redirects it to Administartion interface web page.
The utility requires Java Runtime Environment (or simply JRE) version 6 or greater to work. There are high chances that you already have it installed on your PC as it’s the requirement for a great number of popular software packages and so you just need to double-click the “revealer-j_0.1.0.jar” file to launch the utility.
Otherwise it means that you don’t have JRE installed and have two options:
- Download our ready-made packages for your operating system containing the “Revealer” utility and all the stuff necessary to make it work. In this case you just need to launch “Revealer” executable.
- Install JRE. A good candidate is Oracle JRE which you can install following the official instructions.
Warning
“Revealer” uses UDP broadcasts to reach all Standa 8SMC4-USB-Eth1 in your LAN so it might be unusable in the environments where UDP broadcasts are forbidden or unwanted.
7.1.2.2. Overview
Standa 8SMC4-USB-Eth1 and Multi-Axis Motion Controller 8SMC4-ETHERNET/RS232-B19 devices is equipped with web-based Administration interface which enables the end user to control devices services and monitor system state.
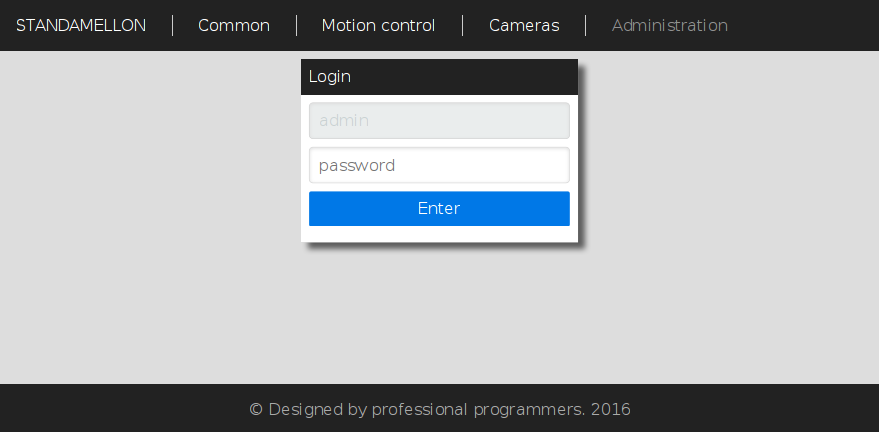
Administration interface login page
In order to get access to the Administration panel, navigate your browser to http://[address] URL (where [address] should be replaced with IP address of the device in your local network and can be obtained with the help of “Revealer” utility). If you are doing this for the first time (or you’ve disabled cookies/password storage in your browser) you’ll need to authenticate yourself using “admin” as login and password.
Note
It’s highly recommended to enable javascript in your browser while using Administration interface to get the best user experience.
Note
Web-interface is compatable with MS IE 9, MS IE 10, MS IE 11, MS Spartan, Firefox, Chrome browsers and might not work as expected in others.
Administration interface is split into three functional sections.
7.1.2.2.1. “Common” section
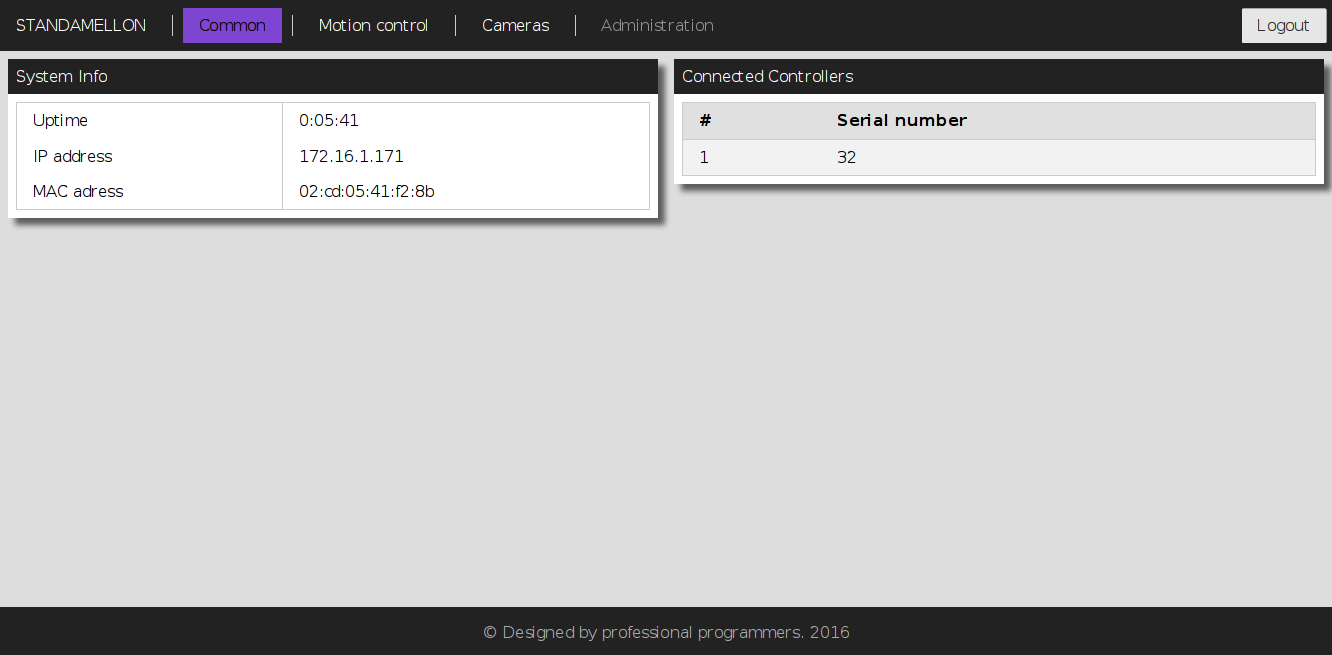
Common section page
This section contains generic system information and decimal serial numbers of all controllers connected to the device.
7.1.2.2.2. “Motion control” section
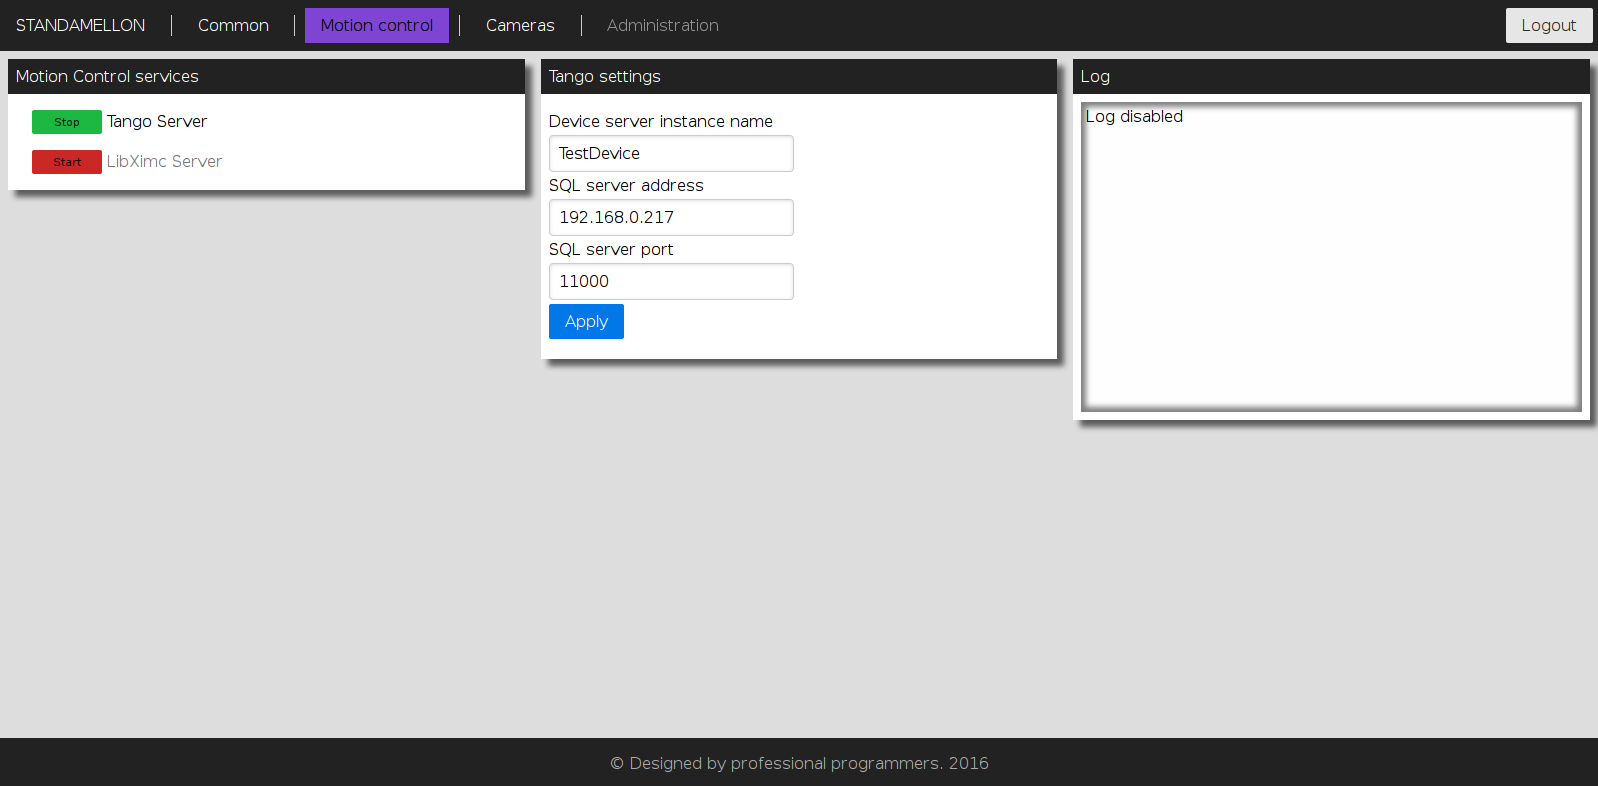
Motion control section page
This section is dedicated to motion control services supported by the device. “Motion Control services” panel contains a list of all currently available motion control services. Clicking on services’ title opens an appropriate settings panel (or none if service has no alterable settings). Clicking “Apply” button in settings panel will persist settings in database and restart corresponding service.
Note
Motion control services are mutually exclusive - only one can be active at any given moment. Starting one of the services will automatically stop previous active if any.
7.1.2.2.3. “Cameras” section
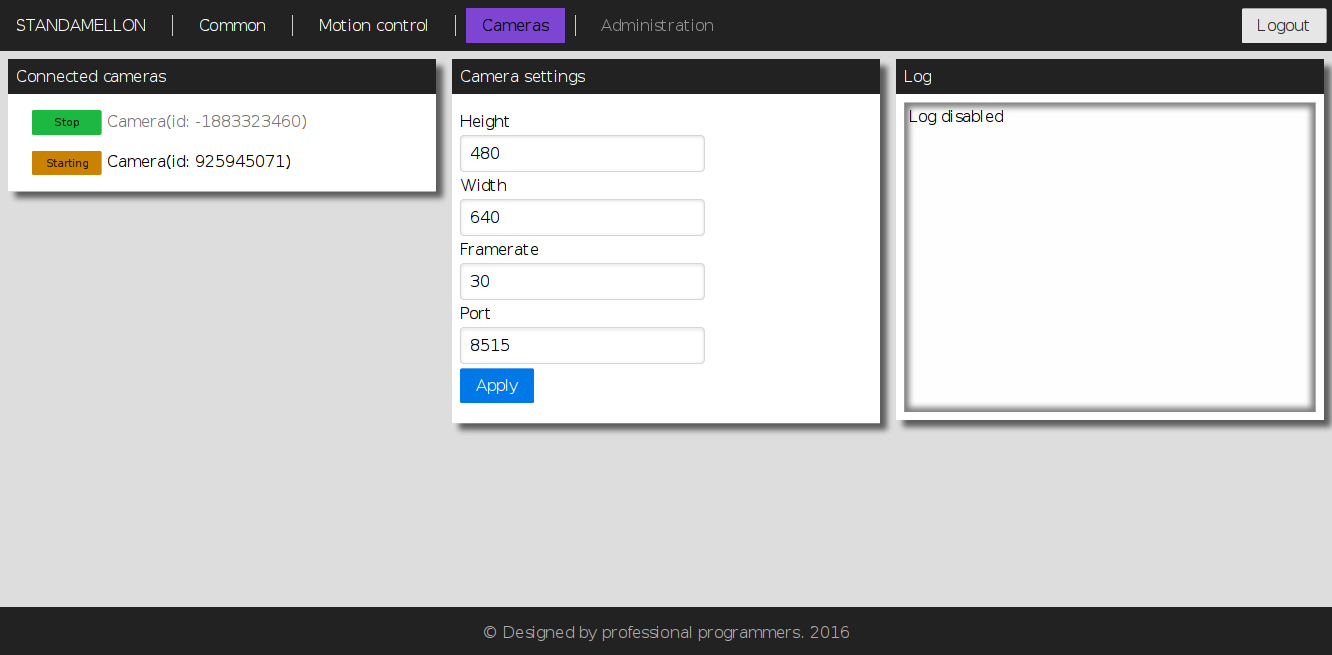
Cameras section page
In this section there is a list of all connected cameras. Each camera is associated with streaming server instance, which exposes settings, status indicators and controls.
7.1.2.3. Service control
The Administration panel enables you to control all available device services. There is a common management metaphor for all services independent of its’ actual functionality and aim. Each service has an associated Indicator button on the left of its title which shows current services’s status and enables changing it:
- Red color with “Stopped” label indicates that service is completely stopped; pressing the button will run service startup.
- Orange color with “Starting” label indicates that service is in interruptible start sequence; pressing the button will revert service to stopped state.
- Green color with “Stop” label shows that the service is up and running; pressing the button will trigger service stop sequence.
- Orange color with “Stopping” label indicates uninterruptible stop sequence.
Note
Many services have settings which can be altered. After changing any of such settings the corresponding process will be automatically restarted shortly - the Indicator button will show it dynamically.
7.1.2.4. Firmware upgrade
Warning
During the update MicroSD content and 8SMC4-USB-Eth1 device flash memory will be wiped out. Make sure that you’ve made necessary backups.
Download an appropriate firmware version from software page.
Get a 4GB (or larger) MicroSD card.
Download and upack an autoinstaller image archive. On Windows family operating system you might have no apropriate archiver — in this case you may use 7-Zip (official site).
Put the image onto the MicroSD card:
Unix family OS:
You can do it via dd utility (e.g.
dd if=autoinstall_image_2015-12-17.bin of=/dev/sdX bs=4M; sync
but remember to substitute the device names with yours).
Windows family OS:
- Download Win32 Disk Imager (official site ) and start it.
- Specify autoinstaller image path in “Image File” field.
- Select your MicroSD drive in “Device” list.
- Press “Write” button and wait till progressbar completes.
Insert the microSD card with the image into your 8SMC4-USB-Eth1 and turn it on (or reboot).
Wait approximately 10 minutes to let the firmware be installed. You may check the progress of installation by looking at LED indicator inside the case of the device through USB plugs:
- LED is stable green or emits periodic single green pulses - autoinstaller is initializing.
- LED periodically emits green double pulses - installation is in progress.
- LED is stable green - installation is complete.
Power off the device (just plug the power cable off) and extract MicroSD card.
Power on the device and wait another 2-7 minutes to let the device initialize itself.
Warning
On some rare occasions the device might not be visible through the revealer (and have its services and administration interface unavailable either) even well after estimated initialization period. In this case try to reboot the device. If it doesn’t help try to redo steps from 5 to 8.
Now you should have your 8SMC4-USB-Eth1 device updated and fully operational.
7.1.2.5. Troubleshooting
Warning
If your device won’t work properly, leds don’t blink as described above during flashing and your device manufactured after 2017 October, please, contact support.
7.1.2.5.1. Uninitialized Cubieboard2 bootloader
In some rare cases the steps described in Firmware upgrade instruction might not succeed. One of the possible reasons is that due to some technical failure the Cubieboard2 singleboard computer bootloader (on which 8SMC4-USB-Eth1 is based on) was not properly initialized. However bootloader initialization isn’t very complicated:
- Download PhoenixSuit (official site ) and unpack it;
- Download Lubuntu server image with bootloader supporting SoC A20 rev.B for PhoenixSuit (official site, “Firmwares” -> “Cubieboard2” -> “Lubuntu Server”) and unpack it.
- Start PhoenixSuit. In case of update request, confirm it and wait till it’s done.
- Switch to “Firmware” tab and specify unpacked Lubuntu server image path.
- Power off the device. Press and hold FEL button (it’s near LAN and USB-OTG connectors). While still holding the button, connect USB-OTG to your PC and then release the button.
- You might need to explicitly install driver for the device on Windows
family OS.
- Navigate to the Device Manager.
- Locate “Unknown Device” and right click on it.
- In the context menu press “Update driver software…”.
- Specify “PhoenixSuit1.0.7\PhoenixSuit\Drivers\AW_Driver” as driver search directory.
- After that a popup in PhoenixSuite will appear. Press “YES (Full install)” and wait for the completion.
- Continue to autoinstall instruction.