8.4. 8Eth1 troubleshooting
Note
The 8SMC4-USB-Eth adapter has been renamed 8Eth1 [1]. All available instructions in our manual are relevant and applicable to both devices.
The most common problems during the connection of the device are listed in this paragraph. To solve those problems it is often required to get the 8Eth1’s current network settings or even change them, while the latest configuration of the device is unknown. The following text provides instructions to do that.
8.4.1. Update the firmware to set a predictable status
If you are unsure what was the last configuration of the device - one of the easier ways to ensure a predictable configuration is to reflash its firmware. The latest firmware can be downloaded from our website while the instructions on how to flash the deivce are provided here. The firmware by default is DHCP (automatic) configured so that the device would automatically receive an IP address in a network with a DHCP server.
8.4.2. Connect to the device via HDMI
The 8Eth1 is a mini-PC device that has an active video output. It is possible to directly connect a display to the device to gather its unknown network configuration.
- Make sure that the device is powered and stays connected with an Ethernet cable to the desired PC/network;
- Connect a monitor to the HDMI port of the adapter and a keyboard to the USB port. Wait for the system to boot (around 1 minute), the login input field should appear;
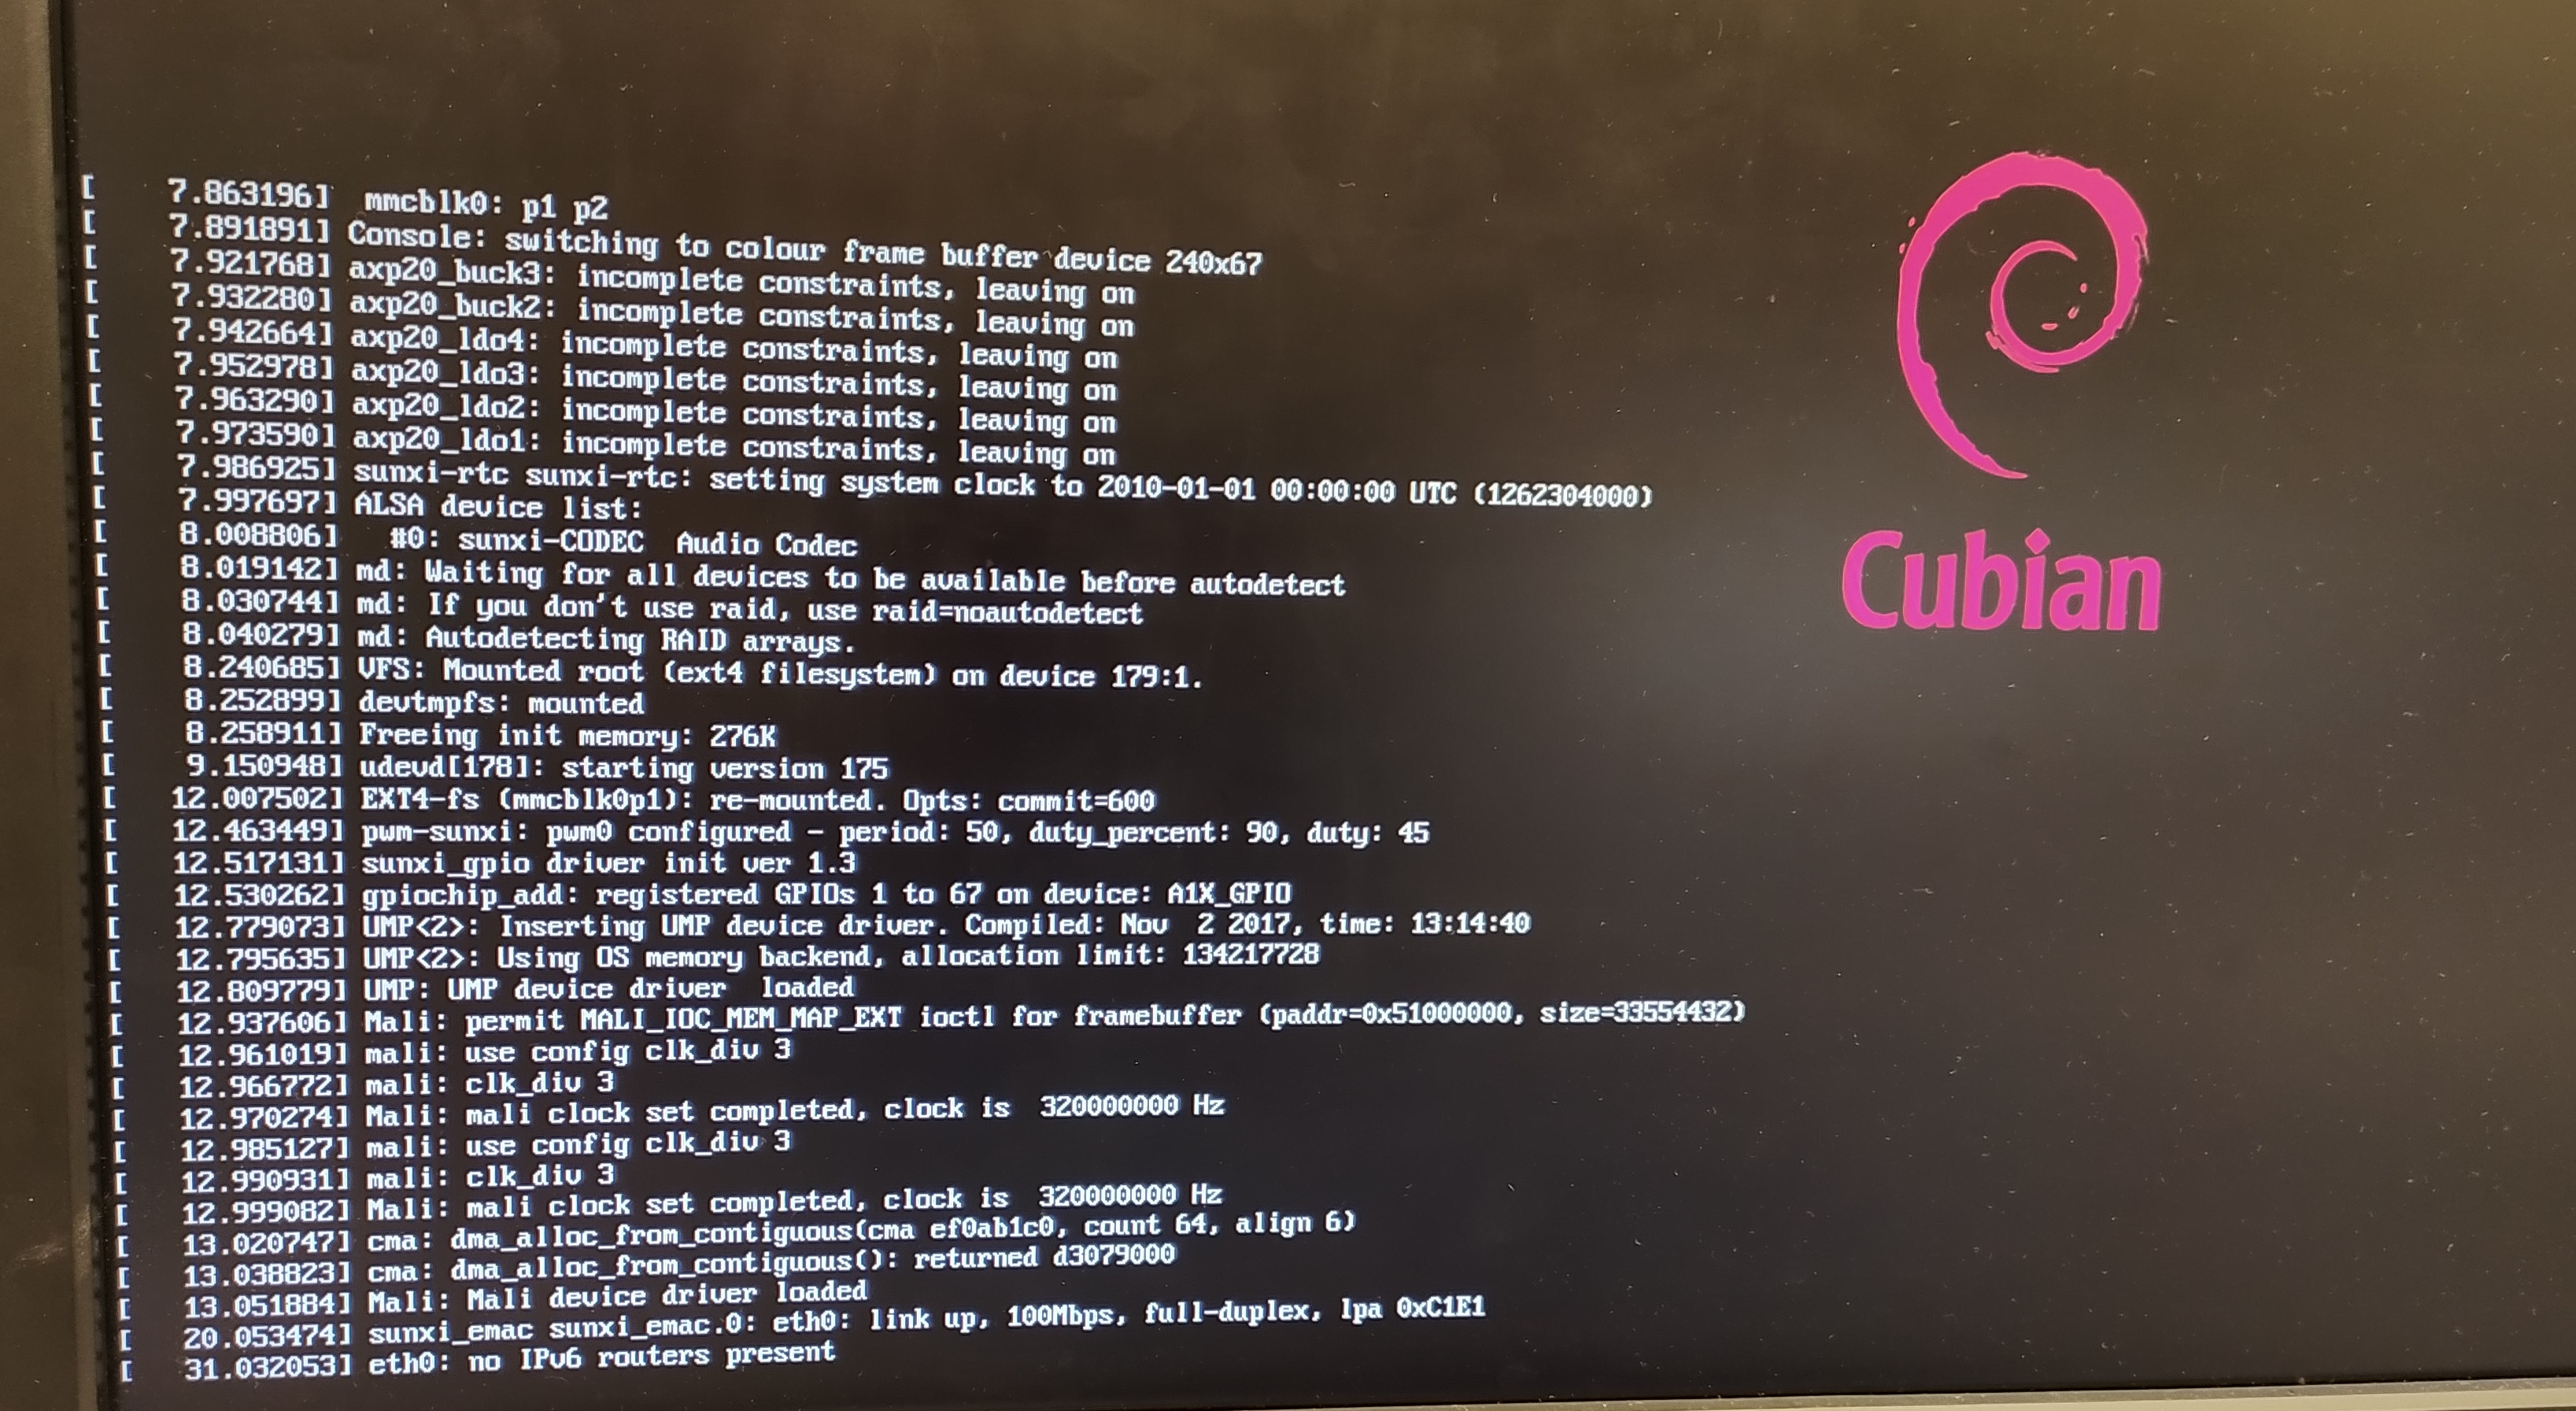
Booting the 8Eth1 adapter system
- If the system fails to boot, restart the 8Eth1 adapter. At some point, you will see that the 8Eth1 adapter has started. You will see the login input field;
- Enter login - cubie, the password is printed on a label attached to the device. If it is missing, please contact support;
- To check established network settings, type ifconfig command and check the “eth0” adapter. If a “inet addr” string, contatining an IP address is lacking, most probably the device is DHCP configured, but didn’t manage to receive an IP address from a DHCP server (example below);
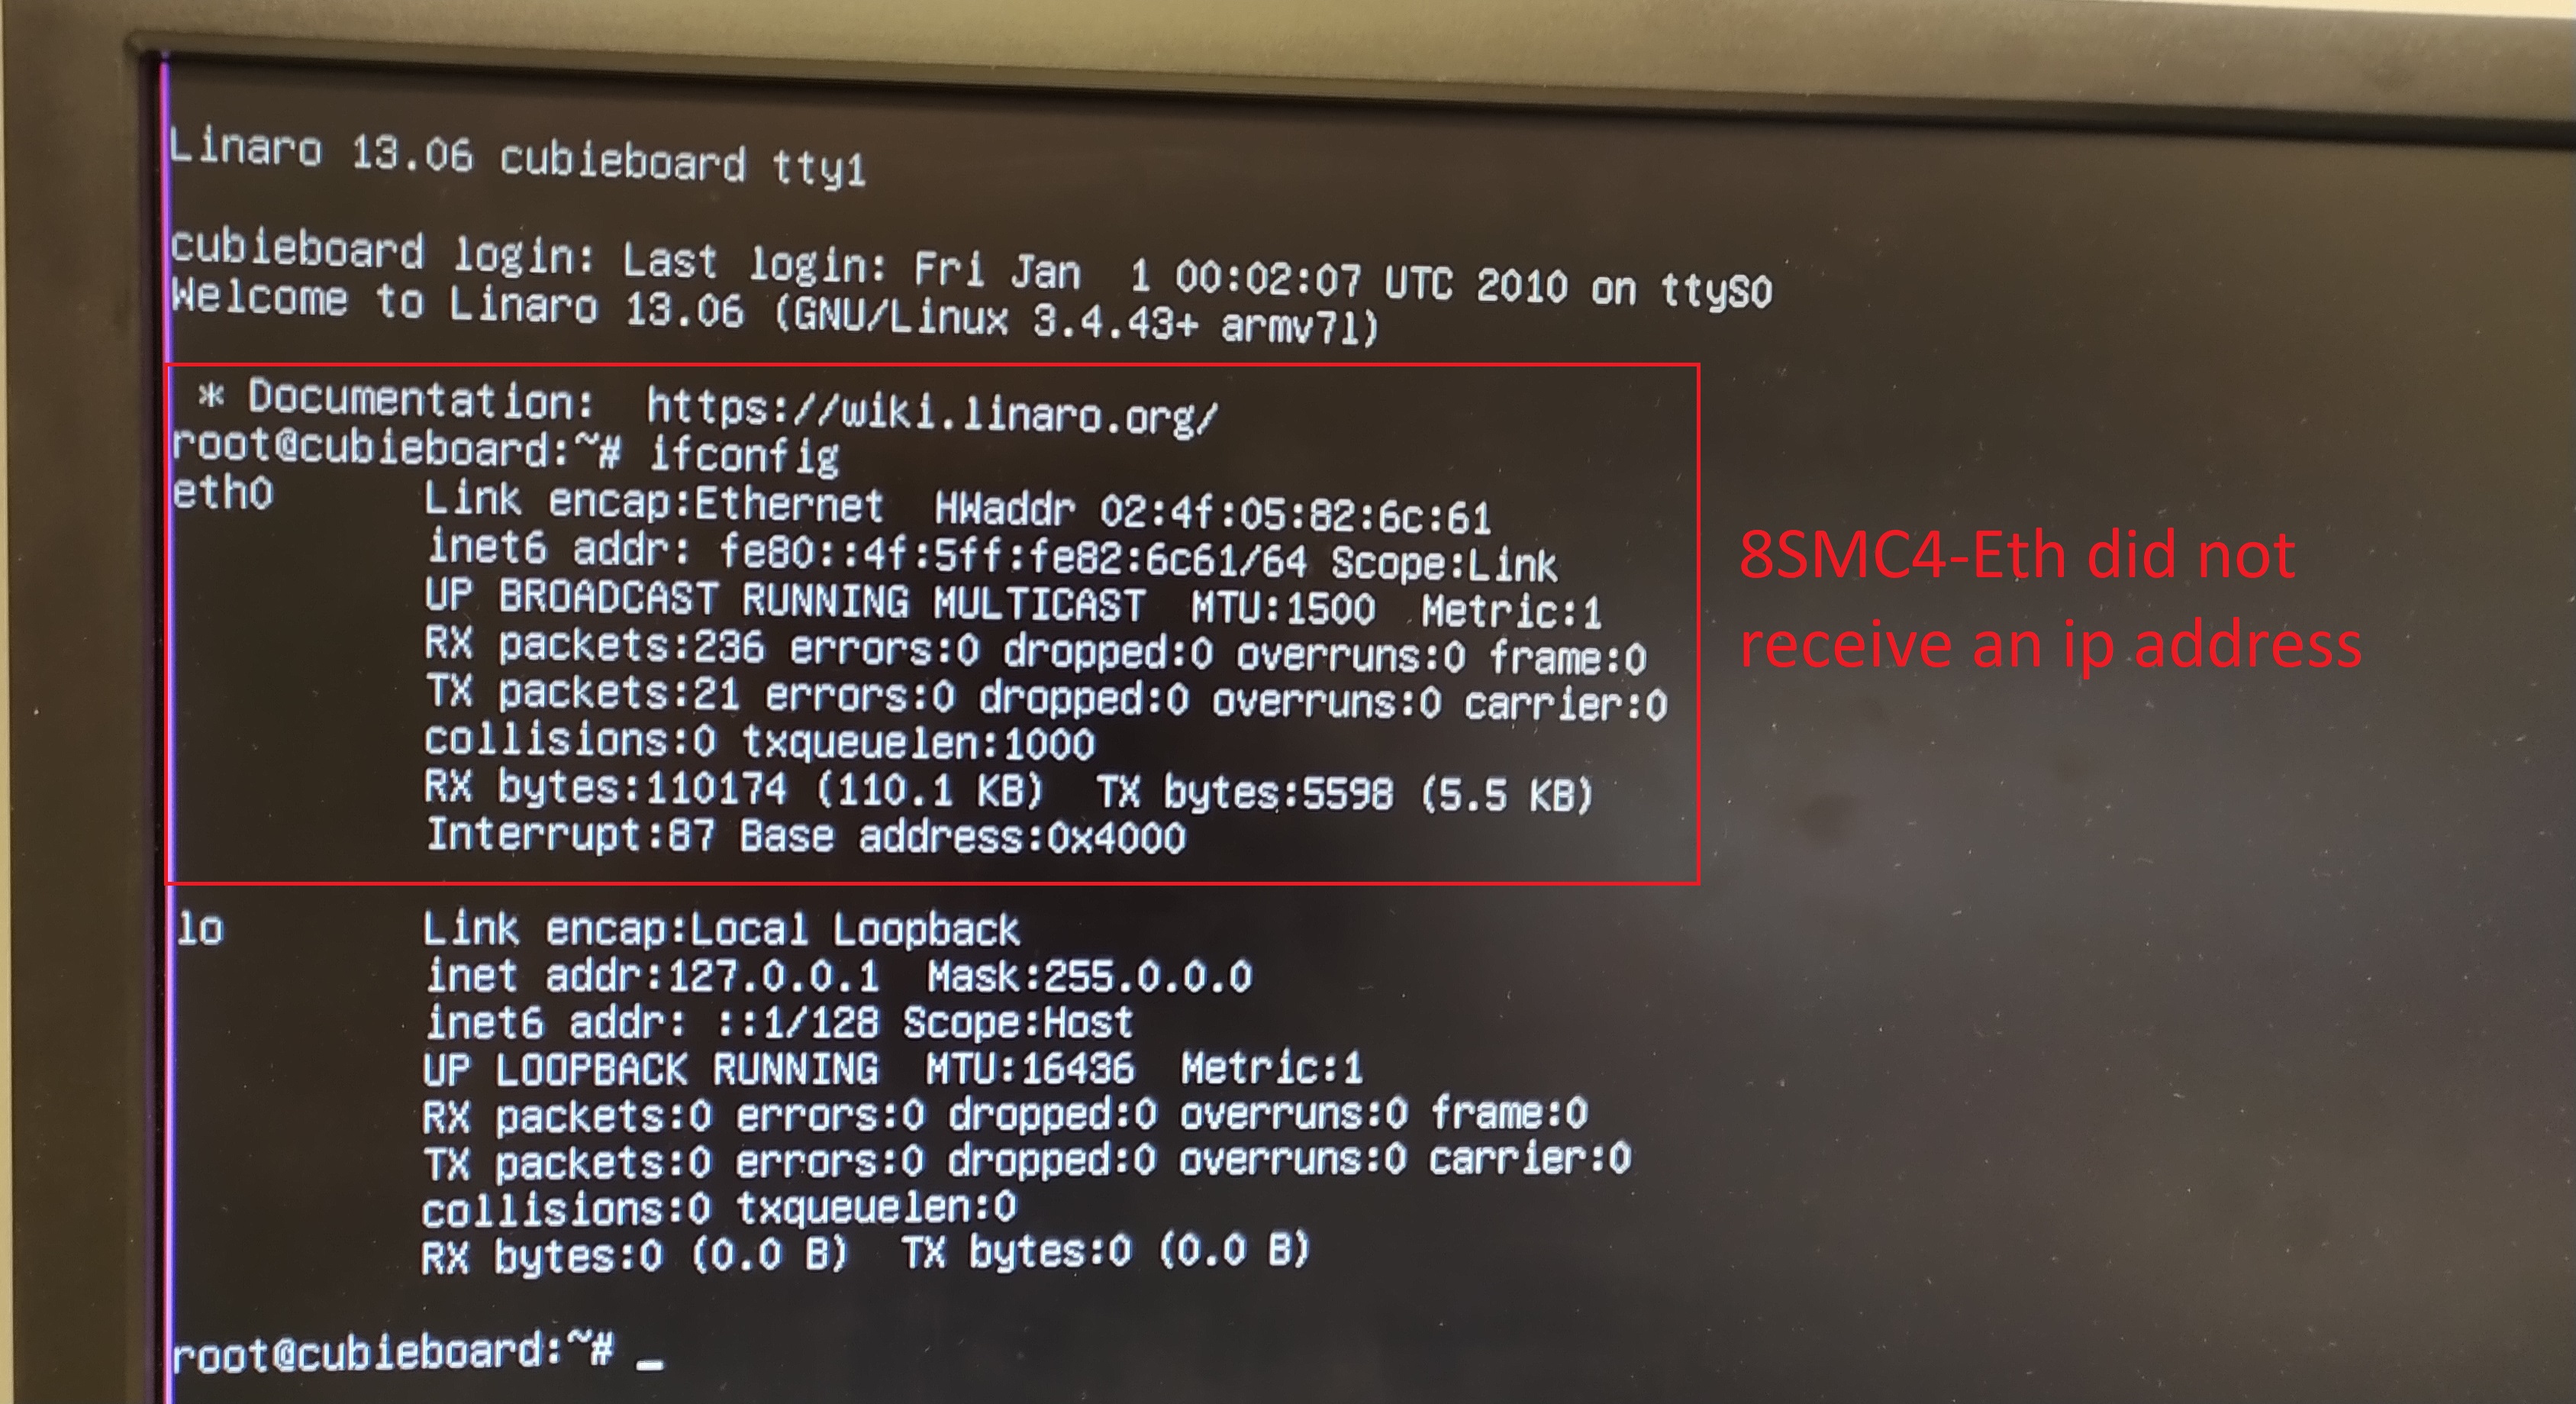
8Eth1 adapter did not receive an ip address
- You can also check which network settings were set up on the device by typing nano /etc/network/interfaces command. A “static” keyword with a certain preconfigured IP shows that a static IP was assigned to the device. Otherwise, the DHCP (automatic) option was used;
- To end your connection session just disconnect the display and keyboard from the 8Eth1.
8.4.3. Change network settings directly on the device
Log in to the device as described previously:
Enter the following commands in the terminal:
1
2
sudo mount -o remount,rw /
sudo nano /etc/network/interfaces
Modify the network settings as needed. Example of a DHCP configuration:
1
2
3
auto eth0
iface eth0 inet dhcp
hwaddress ether c0:b0:b0:34:ff:f4
Example of a device configured with a static IP address:
1
2
3
4
5
6
7
auto eth0
iface eth0 inet static
address 172.16.1.101
netmask 255.255.255.0
gateway 172.16.1.1
dns-nameservers 172.16.1.1
hwaddress ether c0:b0:b0:34:ff:f4
Press Ctrl+X, then confirm saving the changes and press Enter. Then type the following command:
1sudo reboot
8.4.4. Connect to the device via SSH
Note
SSH connection should be done on port 36000, not 22!
Once the IP address of the 8Eth1 adapter is known and it gets detected in the Revealer, it is possible to connect to the device via SSH to directly overview and change its network settings. To do this, type this command in Windows Powershell or Linux terminal and change the IP address for your 8Eth1:
1
The workflow of working with the device is the same as in the previous HDMI connection paragraph.
| [1] | The vendor code was changed in 2020, earlier this product had the vendor code 8SMC4-USB-Eth. |