8.4. Self-test of the 8Eth1 adapter
Note
The 8SMC4-USB-Eth adapter has been renamed 8Eth1 [1]. All available instructions in our manual are relevant and applicable to both devices.
Software with a static ip address for the 8Eth1 adapter can be downloaded from our website
8.4.1. Instructions for installing a static ip image
Attention
Every step of the instructions is mandatory, and no step can be skipped!
First you must write the image to your microSD card that is in your Ethernet adapter. To do this, remove the microSD card from 8Eth1 and using the card reader connect it to the computer. Using the program “win32diskimager” (for Windows) or “dd” (for Linux), open the image in the program. The image must be recorded on microSD.
Then you need to remove the microSD card from the card reader and insert it back into 8Eth1. When you start the Ethernet adapter will receive an address via DHCP.
Next you need to connect via SSH on port 36000 (not 22!).
Hint
login - root, password - 12345678
Finally, setting a static address. Enter the following at the command prompt:
1
2
mount -o remount,rw /
vi /etc/network/interfaces
Change static to dynamic, address, netmask, gateway and dns-nameservers. Below is an example. After all the above steps, you need to restart the adapter.
1
2
3
4
5
6
7
8
9
auto eth0
iface eth0 inet static
address 172.16.1.101
netmask 255.255.255.0
gateway 172.16.1.1
dns-nameservers 172.16.1.1
:wq
sync
reboot
8.4.2. Static ip address self-test on 8Eth1
After the image is written to the SD card, the dynamic ip address is set in the configuration file by default. This address is provided to you automatically after you enable the 8Eth1 adapter (automatically assigned a free ip address that is available on your network). If the ip address of the 8Eth1 adapter is not in Revealer after writing the image to the SD card, you need to perform a self-diagnosis:
Important
Self-diagnosis should be performed in an isolated environment.
The 8Eth1 adapter must be connected to the computer.
The computer must not be connected to the Internet, and a DHCP server must be running on it!
- Make sure that the image was correctly written to the SD card (in the win32diskimager program, click the “Verify Only” button);
- Connect the monitor to the HDMI port and the keyboard to the USB port. Make sure that the 8Eth1 adapter is loaded. Wait for the system to boot, the login input field should appear;
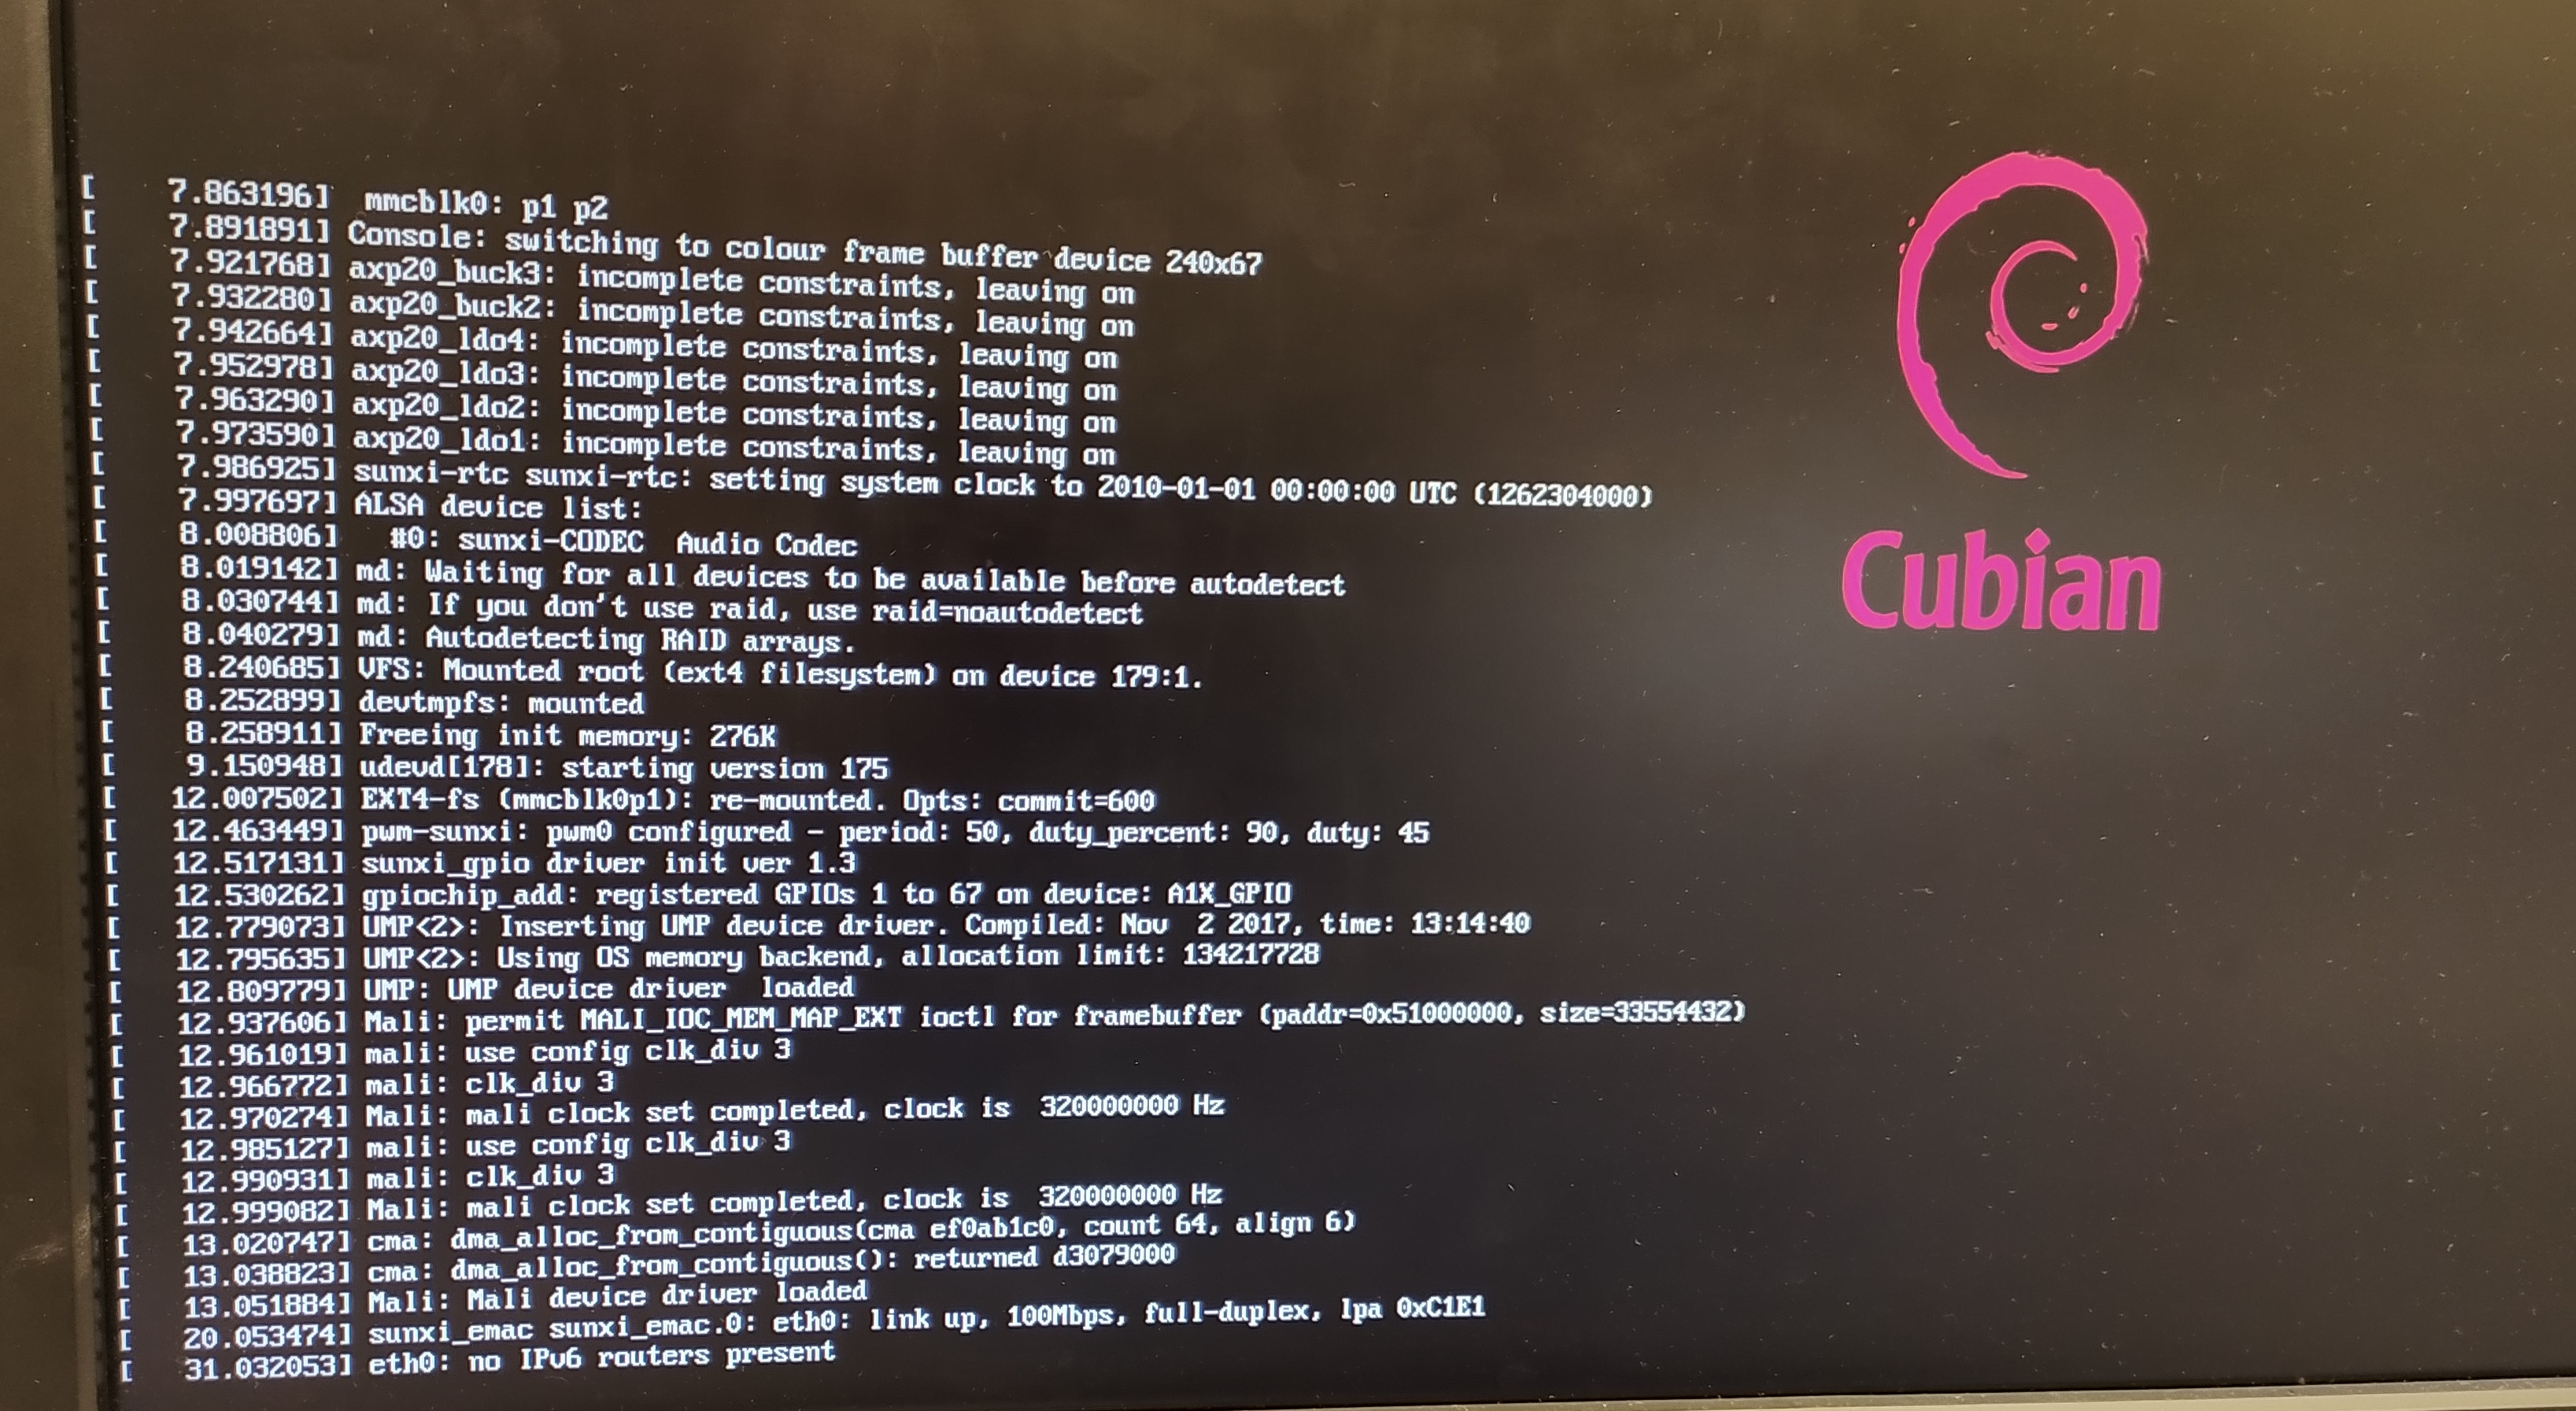
Booting the 8Eth1 adapter system
- If the system fails to boot, restart the 8Eth1 adapter. At some point, you will see that the 8Eth1 adapter has started. You will see the login input field;
- Enter login - root, password - 12345678;
- Enter ifconfig command and make sure that the above adapter has been assigned a dynamic ip address (you need to look at “eth0”);
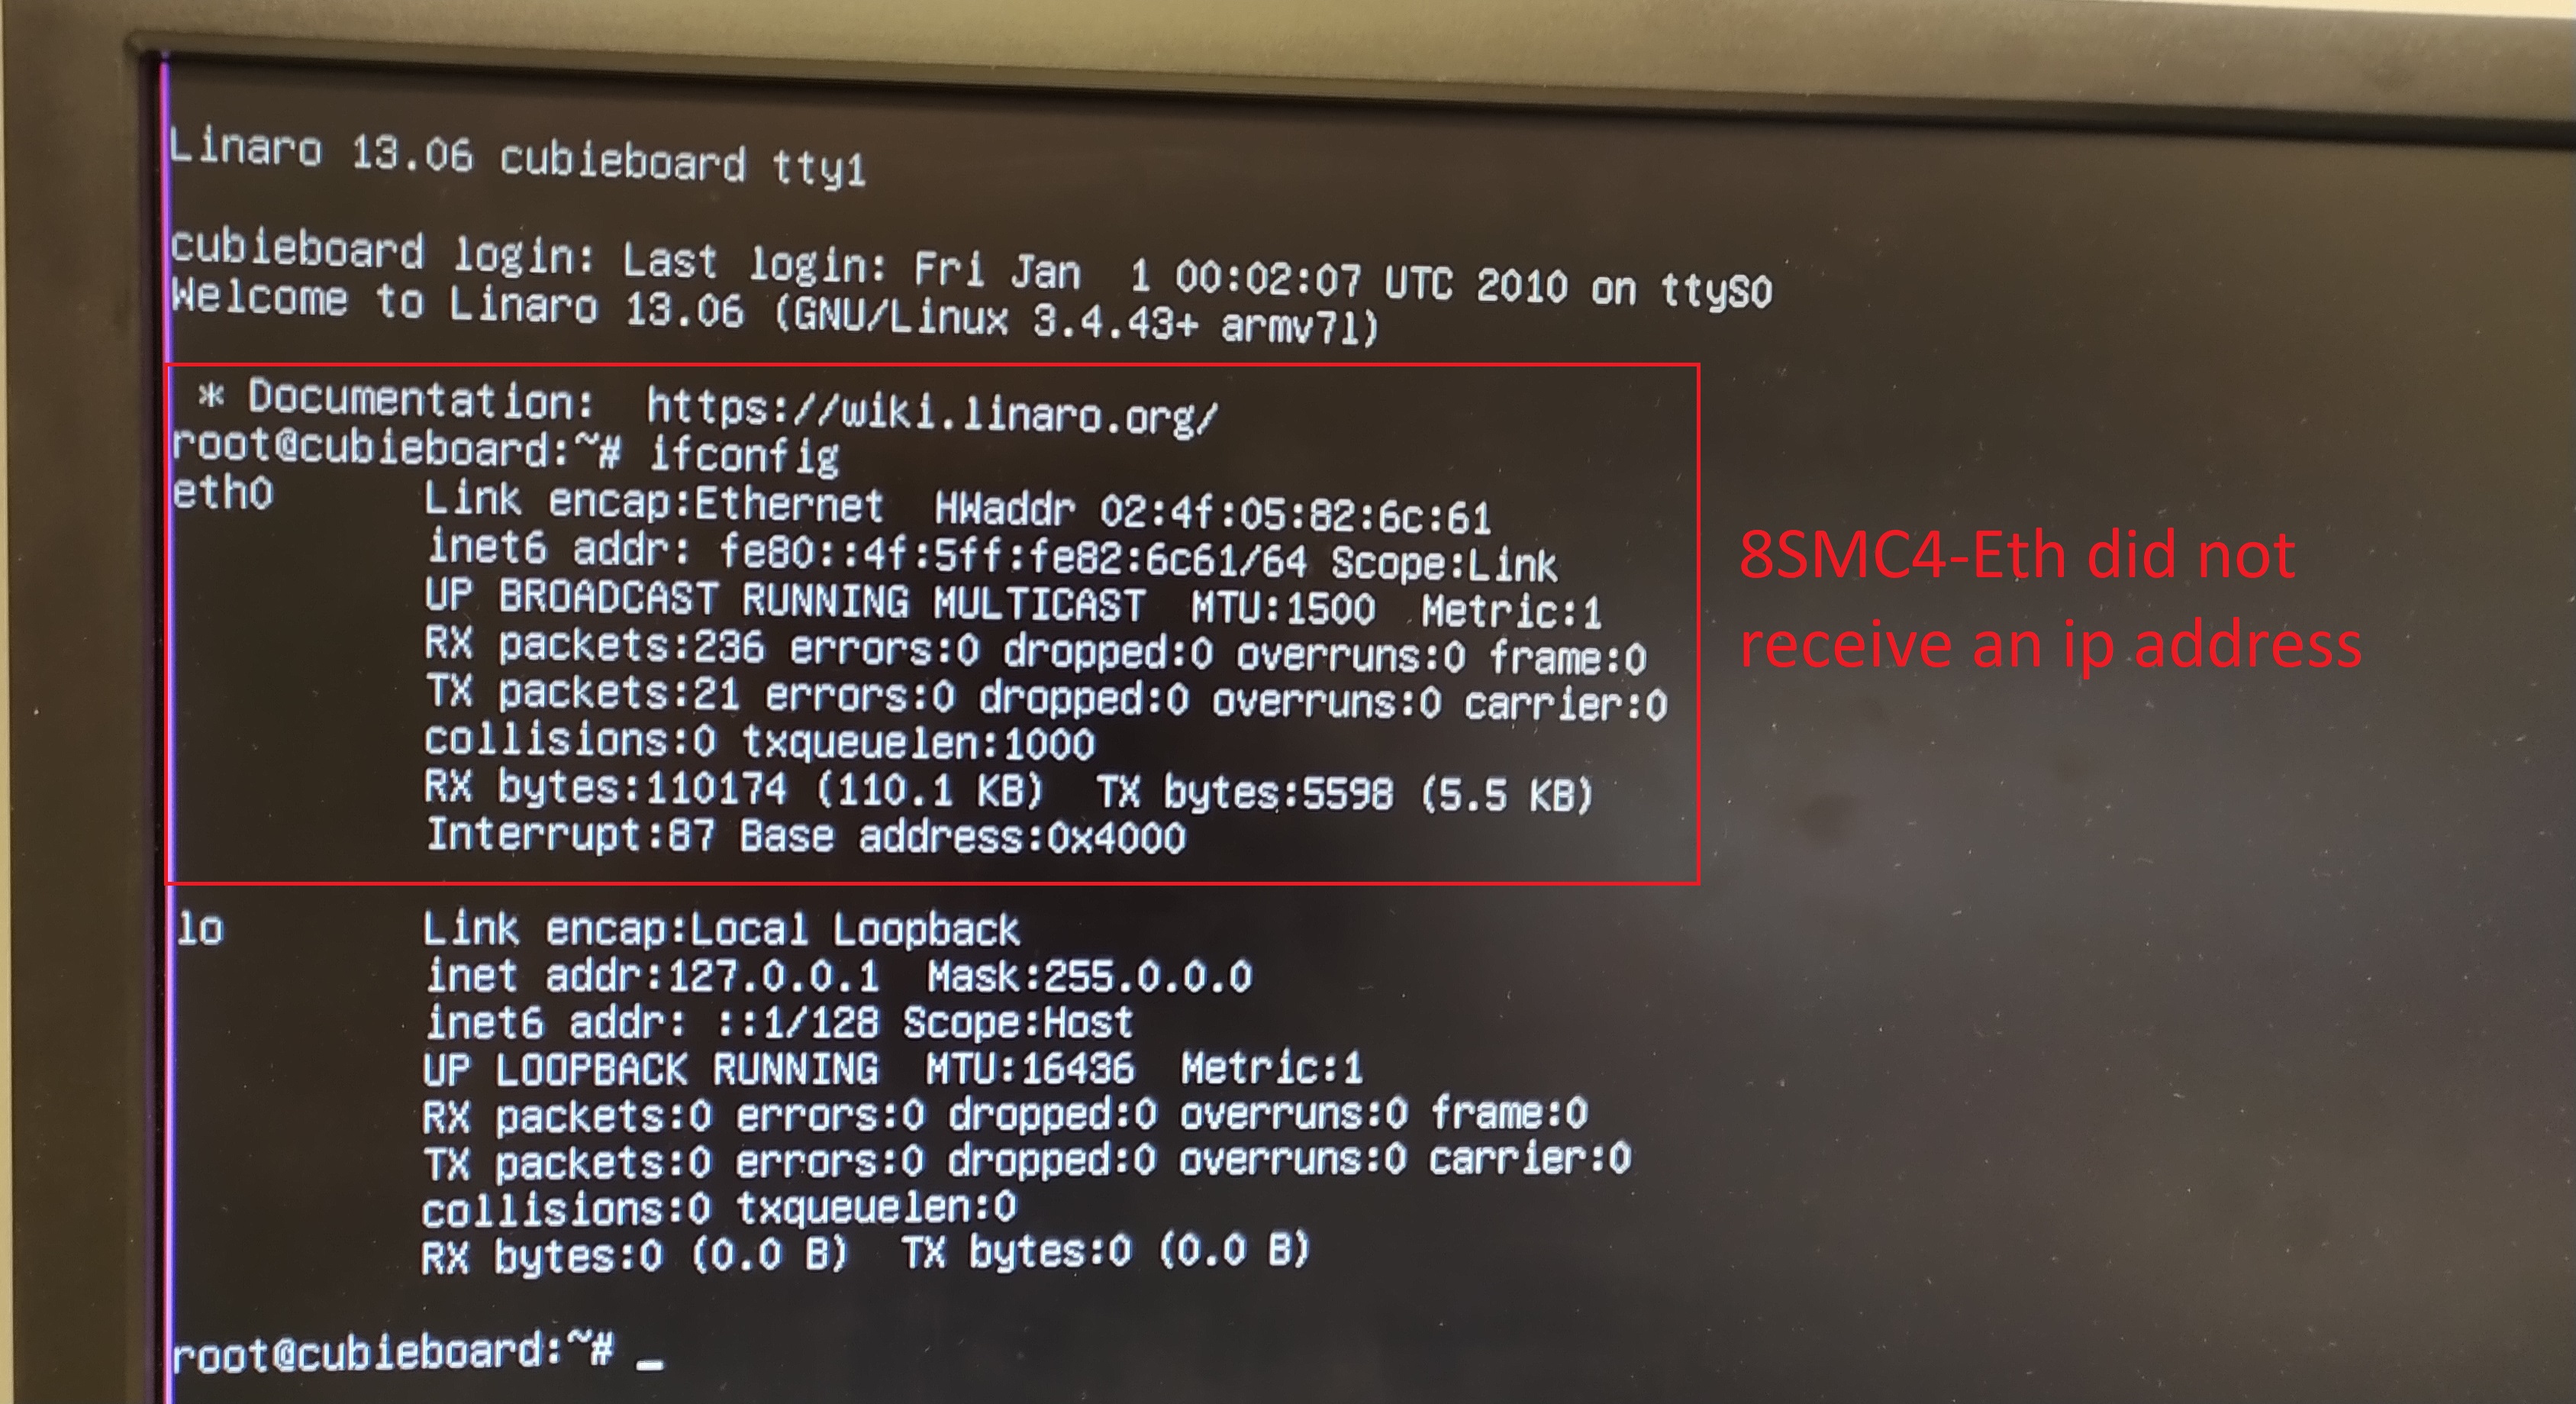
8Eth1 adapter did not receive an ip address
- Assign a static ip address to the adapter (the instructions for setting up a static ip address are written above);
- Disconnect the monitor and keyboard from the 8Eth1. Disconnect the 8Eth1 from the computer and connect it to the network;
- Don’t forget to save the changes and restart the adapter;
- Wait for the reboot and find the static ip address of your 8Eth1 adapter in the Revealer program.
| [1] | The vendor code was changed in 2020, earlier this product had the vendor code 8SMC4-USB-Eth. |